How to install wireless backup camera system
Installing ZEROXCLUB wireless backup camera system in your vehicle can greatly improve your safety and convenience while driving. Whether you're a seasoned DIY enthusiast or a beginner, this guide will walk you through the step-by-step process of installing ZEROXCLUB wireless backup camera system.
What is a Wireless Backup Camera System?
ZEROXCLUB wireless backup camera system is a device that allows you to see what's behind your vehicle when you're in reverse. It consists of a camera that is mounted on the rear of your vehicle and a monitor that is installed inside the cabin. The camera wirelessly transmits the video feed to the monitor, providing you with a clear view of the area behind your vehicle. But these wireless backup systems are not battery-powered, you’ll need a cable for power.
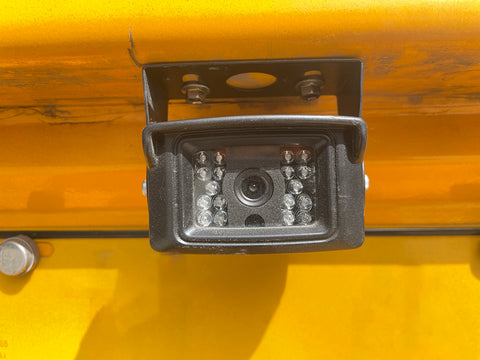
Installation Video
Video1:Zeroxclub Backup Camera Review with Installation in a Ford F150
Video2: Installing ZEROXCLUB HD Wireless Backup Camera on a RV
Video3:Zeroxclub Backup Camera Review with Installation in a RV
Video4:Zeroxclub Wireless Backup Camera Review with Installation in a RV
Step 1: Before Installation
Before you begin the installation process, it's important to test the system. Mount the antenna to the screen and camera, test the system to see if it fit your need. If you want to change the number of the camera displayed on the screen, refer to the manual to re-pair the camera to the screen before attaching it to the vehicle.
Step 2: Consider the distance of the backup camera from the power sources
Measure the distance from the power to roughly where you would like to place the camera. To determine the camera mounting position.(*the length of the power wire is 10ft)
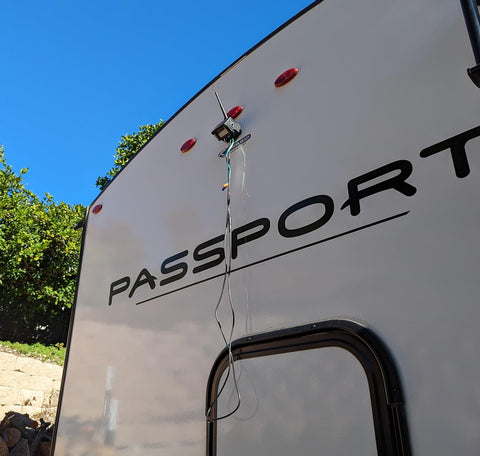
Step 3: Mount the Camera
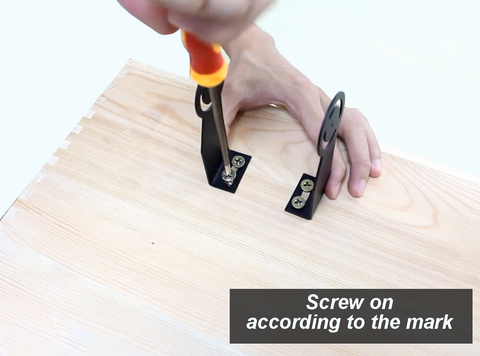
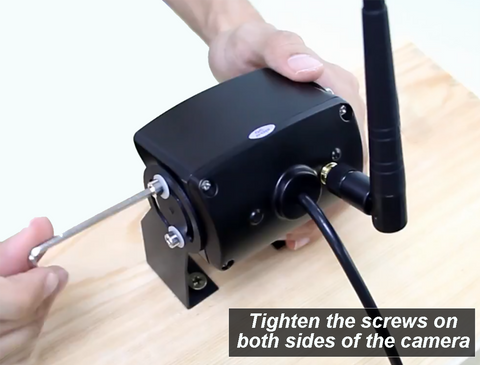
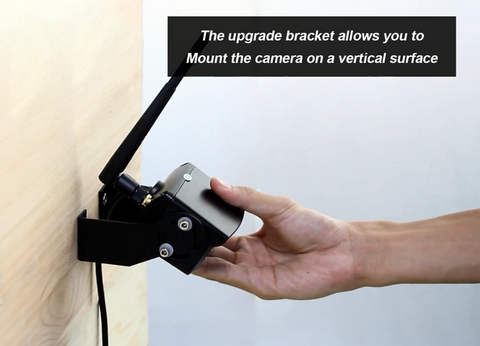
Mount the camera on your vehicle. Choose a location that provides a clear view of the area around your vehicle. Hold the bracket to the mounting location and use a pencil to trace it, marking where it will go. Drill the marked spots. Mount the bracket and screw in, Place the camera on the bracket. Remove anything that overtly obstructs the camera’s view. Adjust the camera angle and ensures that the camera is securely attached.
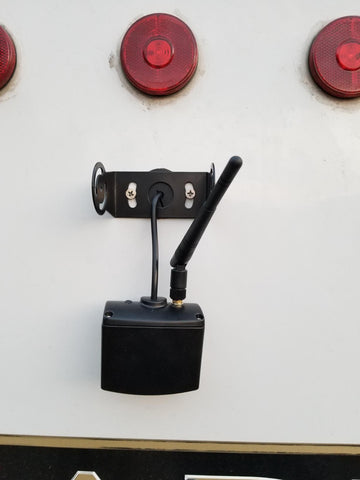
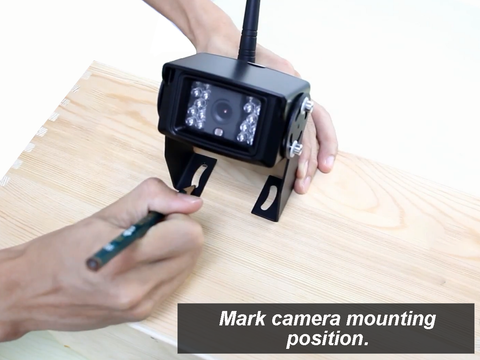
Video 5:ZEROXCLUB Wireless Side View Camera Installation on a RV
Step 4: Install the Monitor
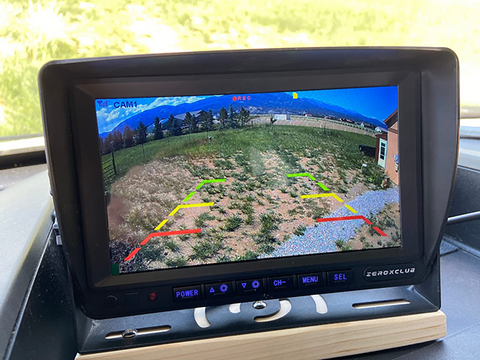
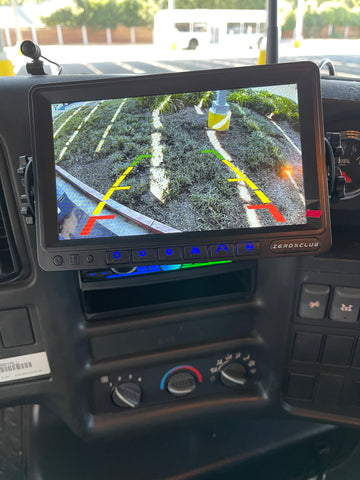
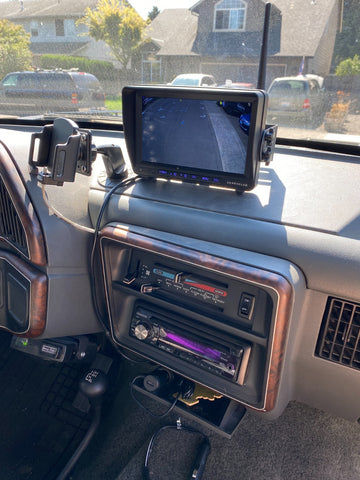
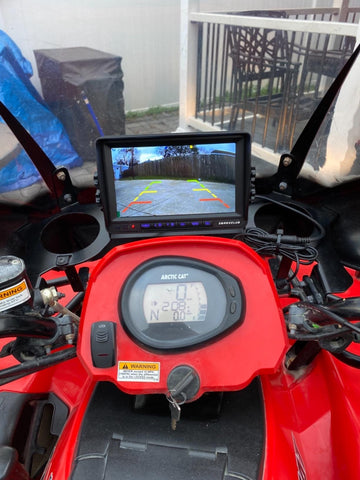
Next, you'll need to install the monitor inside your vehicle. Choose a location that is easily visible to the driver and does not obstruct your view of the road. The most common locations for the monitor are on the dashboard or on the windshield. Use the user manul to securely mount the monitor, ensuring that it is stable and does not move while driving.
Step 5: Connect the Camera
Once the camera is securely installed, you'll need to connect it. Connect the camera to the power wire. Locate your car’s reverse light wires and you can connect the power wire to the car's reversing light wire. Usually, the black one is ground and the other one is the 12 volt positive wire. (In the USA, the positive wire is usually white.) Make sure your connections are solid and properly aligned.
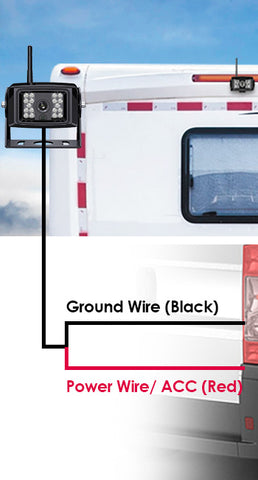
Note:It is recommended to consult the specific user manual provided by the manufacturer of your vehicle for going find the power location.
Note: Do not leave the ignition of the vehicle on when not testing.
Step 6: Connect the Monitor
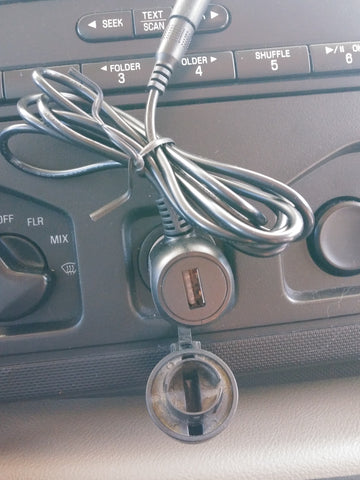
Use the supplied cigarette lighter plug, plug into cigarettes socket.
Step 7: Test the System
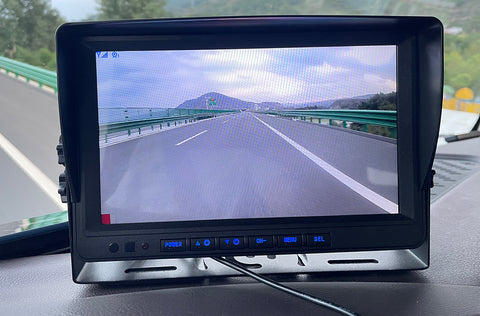
After the camera and monitor are connected, it's important to test the system to ensure that everything is working properly. Start your vehicle and put it in reverse. The monitor should display a clear, live video feed from the camera. Check for any interference or distortion in the video feed, and make any necessary adjustments to the camera or monitor settings.
Step 8: Secure the Wiring
Once you're satisfied with the functionality of the wireless backup camera system, it's time to secure the wiring. Use zip ties or adhesive clips to secure the wiring along the vehicle's existing wiring harnesses or under the carpet. This will help prevent the wires from getting tangled or damaged while driving.
Step 9: Enjoy the Benefits
Now that your wireless backup camera system is installed and working properly, you can enjoy the benefits of improved safety and convenience while driving. The camera will provide you with a clear view of the area behind your vehicle, making parking and reversing easier and safer.
Installing a wireless backup camera system may seem daunting at first, but by following these step-by-step instructions, you can successfully install the system yourself. With a little patience and the right tools, you'll be enjoying the benefits of a wireless backup camera system in no time.
